We came up with a cardboard box dragon craft! Eva was asked to make a 3d model dragon as part of her creative homework around ‘The Reluctant Dragon’ story. We love to craft, most days Izzy has free reign of the crafts and we regularly come up with ideas such as our cardboard castle we made last week that we shared over on Instagram.
We spent a day or so trawling through Pinterest and various other sites before deciding we should just come up with our own idea!
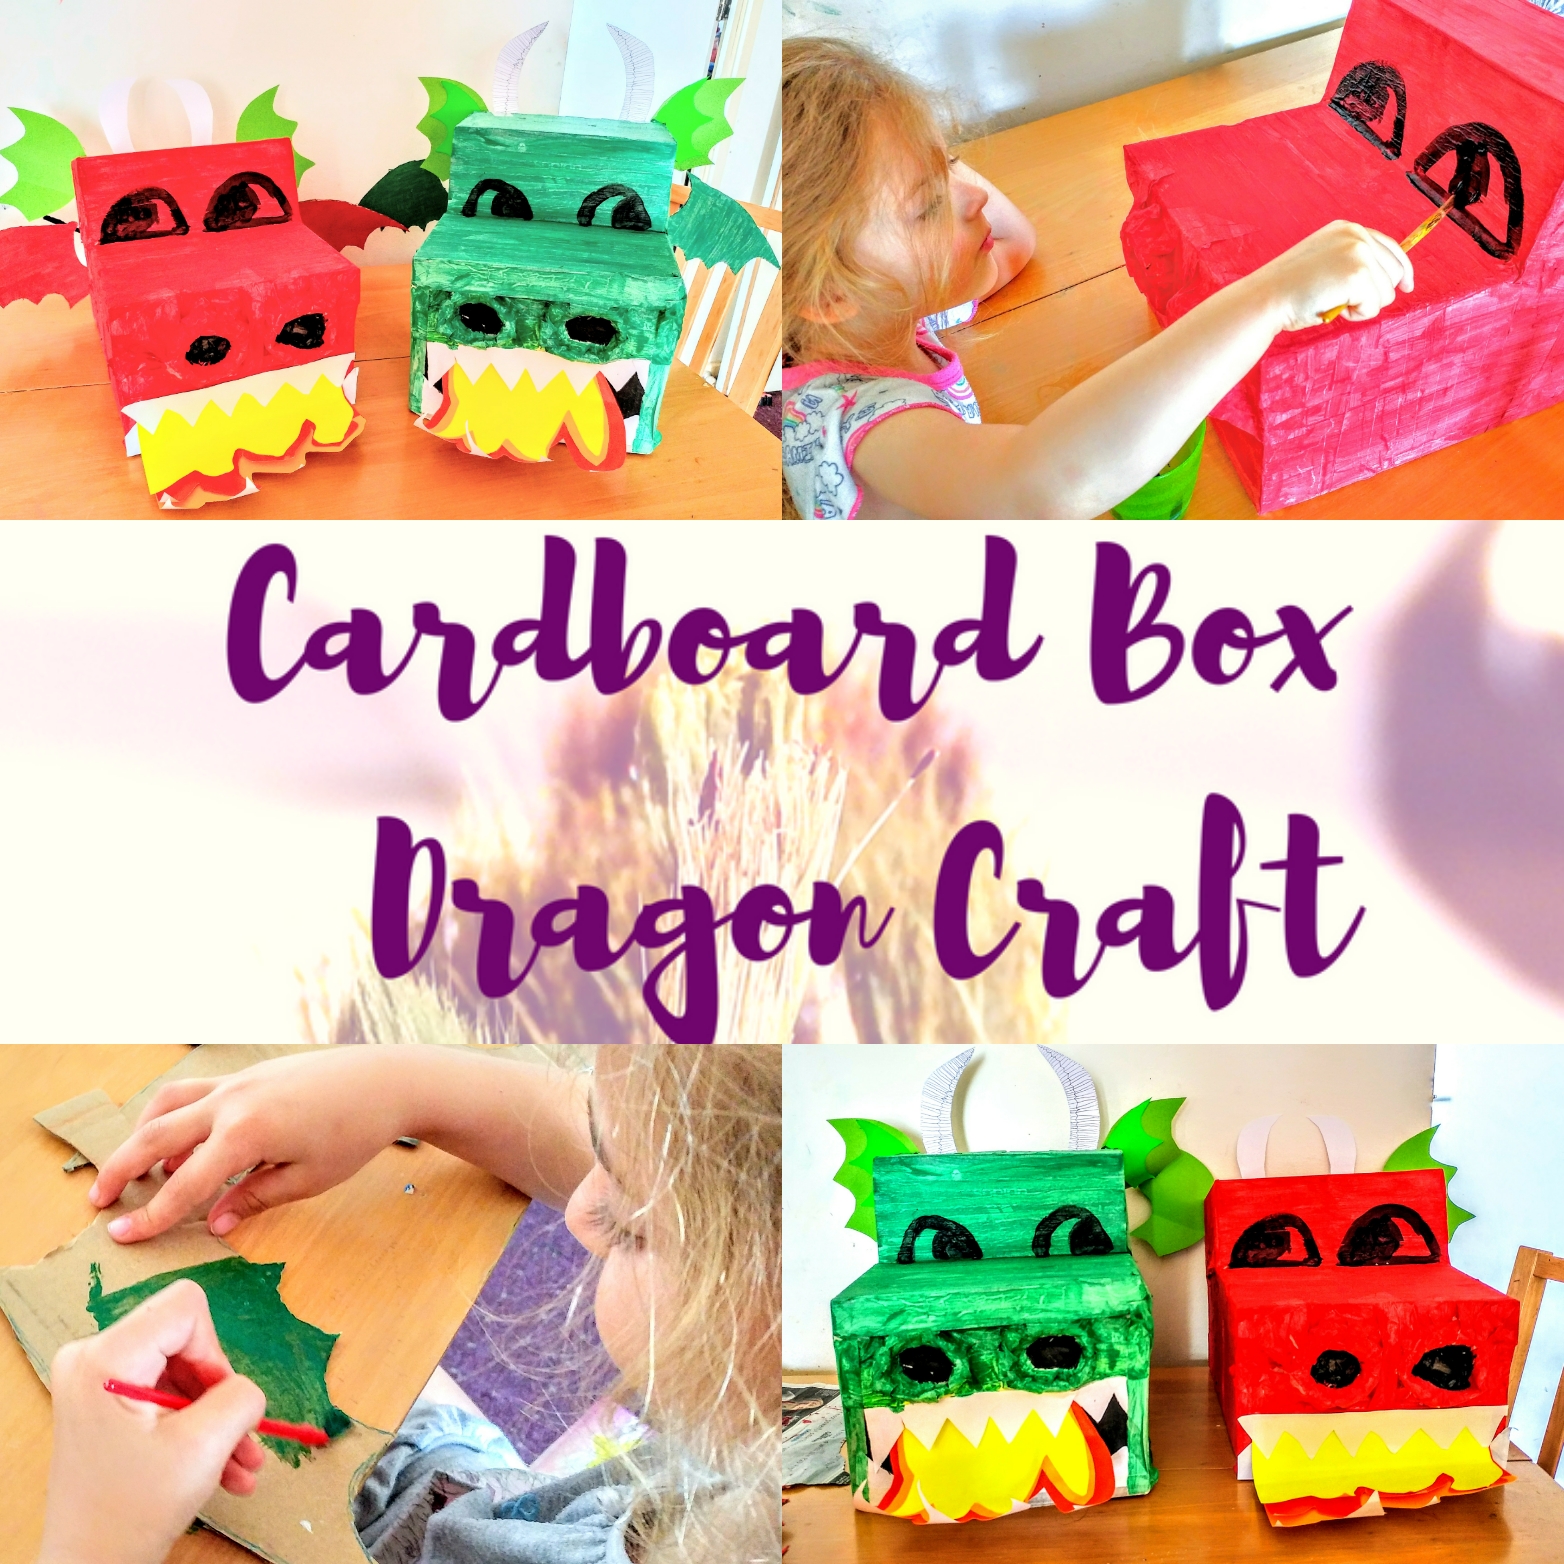
Cardboard Box Dragon craft
Creating a Base
We started off with A cardboard box and a shoebox. Opening out the shoebox and placing it on top of the larger cardboard box gave us a fab dragon head shape to start off with.

We secured the boxes with masking tape all the way around. This gave us a good base to paint on.

Preparing & Attaching Add-ons
Next up, we made 2 paper maché rings for nostrils and 2 eyes to dry for later.
Then, we cut out top & bottom teeth for our dragon. We also cut flame shapes onto yellow, orange & reddish orange card. Finally, we cut out a pair of ears for our cardboard box dragon.

When the nostrils were dry we taped those to the front of our dragon before painting. We also added our teeth and flames.

Painting Our Dragons
Already looking quite dragon-like, we decided to paint our first dragon green! Whilst the paint dried we filled the mouth & nostrils in with black Posca pens.

The paper maché eyes we painted white, using the black Posca again for the pupils. Whilst the eyes dried, we attached the dragon’s ears.
Our Dragons Coming Alive!
Izzy decided she wanted her dragon to have eyes painted on instead of making paper mache eyes. As soon as she painted the eyes on, her dragon instantly came alive! She made the eyes look sideways ‘to look cute whilst he breathes fire’ and he definitely does look cute! Although I say he, Izzy later decided her dragon was a girl.

With Izzy being younger, it worked out easier to paint the eyes on before sticking on the flames & teeth. This saved paint being spilt on anything and causing upset.

Once Izzy’s dragon was dry we added on the teeth & flames and her dragon started to look great. We attached those along with ears and wings on both dragons to complete them.

Eva finished off her dragon with some detail on the horns which I think looks really cool.

How awesome do they look!? We are really happy with how our dragons turned out and hope our cardboard box dragon craft inspires our readers too!

Fancy trying it out? Pin the image below for a list of what you will need.

What do you think of our cardboard box dragon craft? Are you going to make a dragon of your own?

